
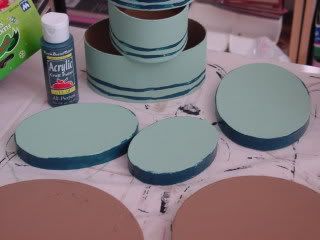
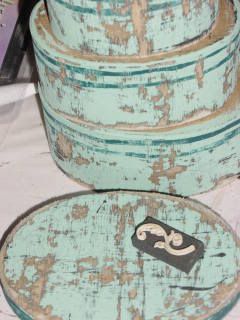
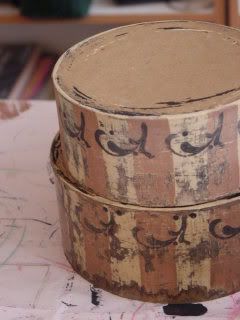
These are paper mache boxes that I painted, striped and distressed. The two small sets of three were ‘new’ sets. The big box is one that I had painted a different design on a long time ago, and decided to update it. The lid to the big one was already finished in black, so I left it as was.
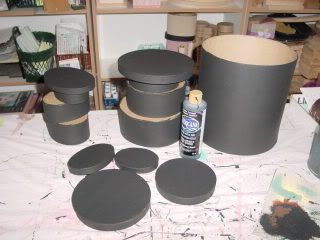
First, give all the boxes a good solid base coat of black.

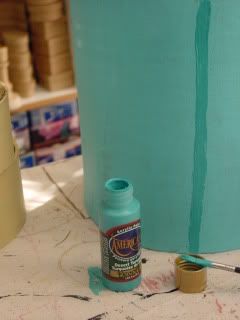
Pick the two colors you wnat to use on your boxes. Select the LIGHTER of those two colors to paint over tha black paint. BTW: I do NOT recommend the ‘Craft Smart’ brand of paint! It is very thin and watery and does not cover well at all. I had to mix some other paints with mine to get it to cover well enough.)

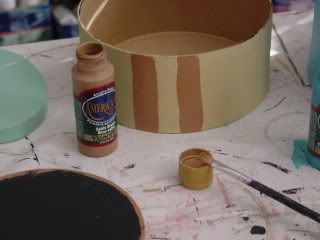
On to the stripes! Take your secondary (darker) color and select a paint brush that is the width that you want your stripes to be. Note that the stripes are NOT perfect. If you want them to be perfect you can tape them off or use a stencil. I like prefer the slightly crooked ‘free hand’ painted look. A lot of the inperfections in your stripes will ‘disappear’ when you distress your item later.
When you’ve got 3/4 of the way around your box with the stripes, pause and analyze the amount of space you have left and guestimate whether you are going to have to ‘adjust’ your stripe width in order to get them to ‘match up’ with your first stripe. It’s better to SPACE the stripes a tad farther apart than to make them closer in order to fit the space.
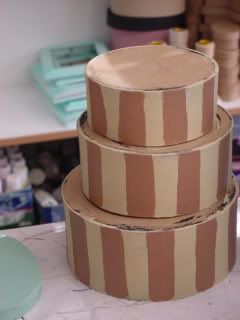
Horizontal stripes are harder for me to do, hence I don’t do them as often. But again, the ‘crookedness’ of the stripes will blend in with the distressing step.
Once all your paint is dry, it’s time to sand and distress your boxes. I use my 4″ electric belt sander, and hand held prbital sander )for areas the belt sander can’t get to) You can sand them by hand, it’s just a LOT more work. Since I am making quantities of them, I NEED a fast and easy way. If you do hand sand, a COARSE sanding SPONGE is recommended.
I wanted to add some designs to my boxes, but I often do them with ‘just the stripes’
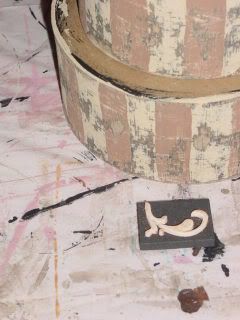
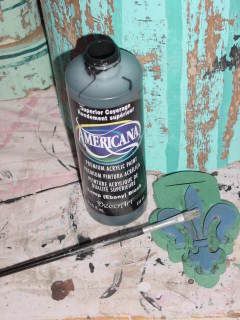
Use FOAM (not rubber!) stamps and water based acrylic craft paint for your designs. This is the same paint that I used for my base coat.
LIGHTLY load your stamp with paint (too much paint will cause your stamp to SLIDE when you press it to your box). I also get TWO stamps per paint loading. The second one is lighter, but that just means less sanding off later!
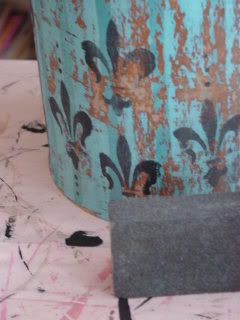
After your stamped on designs are dry, lightly hand sand them with a coarse sanding sponge to distress them.
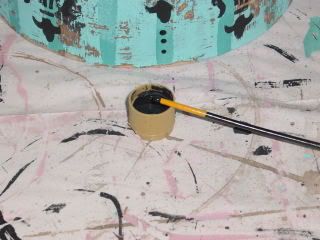
I decided my big box needed some DOTS in addition to the stamped design. Use the end of a paint brush, dipped into paint. I made three dots with each paint loading. Each dot comes out slightly smaller than the previous one.
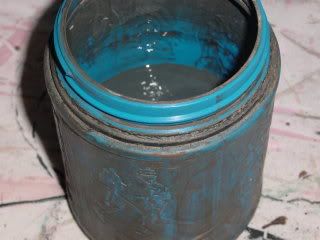
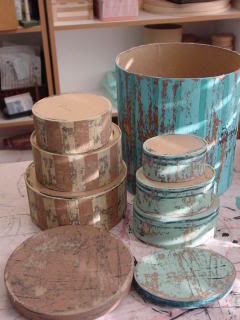
Next it’s time for my ‘secret ingredient’. This concoction is my own creation and I do not share or sell the recipe. (Sorry, it’s the ONE THING that I won’t share) but you can buy it in a can at the store (no mail orders – too expensive to pack a ship) . The ‘weathered wood wash’ is just brushed on over the entire sanded box and lid to give it a nice aged look.
See the difference the wood wash makes? You can also use a use a water based stain to get a similar look.
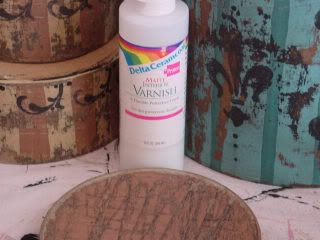
Once the wood wash is dry, I add a coat of MATTE varnish to seal and protect the surface.
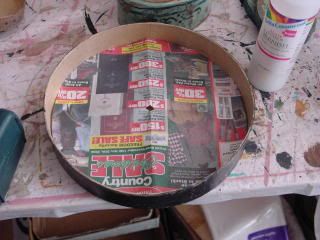
I wanted to add some wood knobs to a couple of the boxes. To find ‘the center’ for the knob placement, I traced the lid onto a piece of newspaper. Cut out the circle to the INDIDE of my tracing line. Folded the paper circle into fourths, and cut a tiny snip out of the center. Placed the opened paper circle into my lid and used a pencil to mark the center.

Drilled a tiny hole at the center mark and screwed my wood knob on from underneath.
OUR WEBSITE : www.cscrafts.com/aj.html
OUR BLUJAY STORE : http://www.blujay.com/folk_art_originals
TO PURCHASE OUR ONE OF A KIND HANDCRAFTED PRODUCTS, E-BOOKS AND CRAFT SUPPLIES; PLEASE VISIT OUR ETSY STORE :
http://www.etsy.com/shop.php?user_id=5876981
~ primitives ~ trash to treasure ~ shabby chic ~ cottage ~ Paris apartment ~ repurposed home goods ~ repaired ~ restyled home decor ~ reused ~ recycled art ~ handcrafted gifts ~ one of a kind ~ artist originals ~ second hand style ~ junk market style ~ flea market style ~ beautiful junk ~ beach cottage décor ~ unique home décor ~ vintage home décor ~ unique gifts ~ custom made gifts ~ custom made home décor ~ personalized signs ~ Sophie’s Cottage ~ grubby candles ~ how to craft books ~ Shabby Paris apartment ~ baby gifts ~ personalized gifts ~ AJ Finsand ~ upcycled ~ rebuilt ~ flea market chic ~ gift baskets ~ custom orders ~ vintage ~ collectibles ~

Wow really nice, I learnt a lot, thanks. In these days no takes time to do things they just buy them.
Hi, I just came across to your blog while looking for “how to paint checkers” from google. I really liked your boxes…They are so imaginative… I am a decorative craft artist in turkey, if you want to learn what I am doing, come and visit me…bye…Have a very nice weekend…
I love the old world look you have given the paper mache boxes!
Fantastic, fantastic post. You have inspired me to make similar boxes for a Christmas gift. Great work 🙂
Wonderful tutorial….I can’t wait to try it out!