Ready for Spring!
I am SO ready for spring sunshine! We had a couple of sunny ‘teaser days’ in January, and a gorgeous sunny and warm weekend last weekend . . . . the rest of the time . . . rain . . . and MORE rain! sigh. Spring. Spring. Where art thou?
Although we haven’t had much in the way of spring weather thus far, I have been diligently working on new spring inventory; for my booth at Stars and the upcoming “Every Husband’s Nightmare Bazaar” in April.
Here’s a sneak peek at what I’ve been working on.
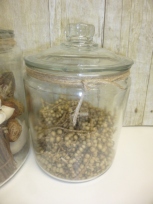
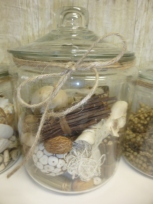
I’m really liking neutral tones this year. And big jars of stuff. Dried hydrangea, dried white pepper berries, assorted dried botanicals and assorted shells.

Jars of spools and balls of yarns and BIG vintage spools of neutral color yarns.
And nests with eggs . . . . this set of three eggs with wood base and cloche top will be sold as a set.
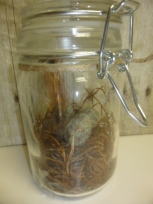
Natural moss, bark and twigs (from my yard!) in a vintage apothecary jar with a little nest.
Big mercantile jar with lid and three nests; being sold as a set.

It’s hard to tell from the pictures, but this jar also has three nests in it, each facing a different direction in the jar; moss on top of all the nests.
Small vintage bell jars with moss, nests, eggs and twigs.
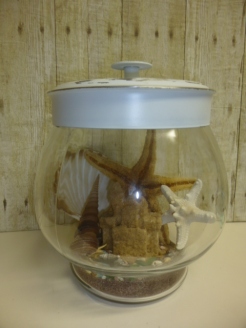
Another ‘beach scape’ jar. This jar is an old fish bowl. This lid was from a big 2 gallon glass jar that I BROKE at my last show. I decided to hang on to the lid, ‘just in case’ I came across another such jar when I’m out thrifting that was missing a lid. Turned out, it fit this fish bowl perfectly. The little sand castle was just a white plaster one that I covered with sand.
Just nests. To give them a little ‘oomph’, I glued them to a big piece of bark. Tied a little ‘nest’ tag onto some of them; added feathers to some.
More ‘just nests’. These with super tiny speckled eggs. See the comparison photo with the nest on bark for egg size.

Assorted vintage containers with various eggs and nests. The eggs in the tallest jar are ‘chicken egg’ size.
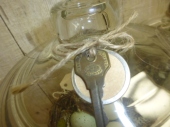
More of what I call the ‘mercantile’ jars; this time with bigger nests and ‘chicken’ size eggs in them; ‘nest’ tags and vintage keys tied to the lids.
Finally ran out of nests and had to start just using the assorted mosses and excelsior that I had on hand for fluff.

Assorted vintage jars with moss and eggs. I GLUED the eggs to the moss to prevent then from ‘disappearing’.
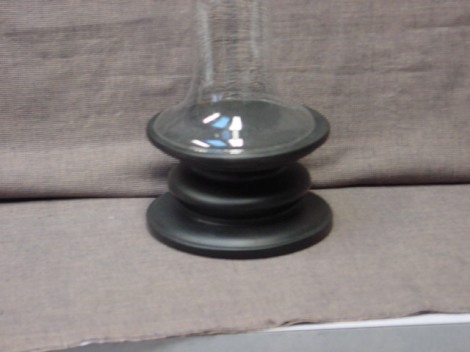
Using up whatever containers I happen to have on hand for the eggs and nests. These metal candle stands were perfect ‘little nest’ size! The darker nest is a ‘purchased pre-made’ nest; the other, a hand-made moss one.
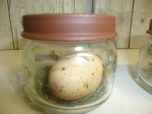
I don’t remember where I got these cute little canning style jars, but they were perfect for a tuft of moss and three little eggs.

LOVE these little apothecary style jars. They are TINY. Barely big enough for 2 of the tiny eggs.
I don’t even know what the original use for these metal tins is?!?! I used to always use them for grubby primitive candles and ‘fixins’. had a few leftover from my primitive days and decided to put nests in them. These pictures show a good size comparison of the small vs. chicken size eggs.

For those whom already have containers or cloches and just want to buy the nest, I did a few even without the added bark. The larger white eggs in this picture are plastic eggs that came in the nests when i bought them. The other eggs are ‘styrofoamish’ stuff that I hand painted. All eggs are glued in place.
Close-ups of eggs.
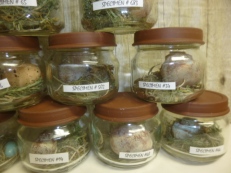
I had a LOT of eggs to use up! I had saved these glass baby food jars from buying baby food meat to make dog biscuits for my grand-puppy. Spray painted the lids and printed up little ‘specimen #’ tags to glue onto the jars. Placed one tiny egg and a pinch of moss in each one.
Will be taking some of this to Stars tomorrow. MORE to Stars next week . . . along with a BIG SPECIAL ANNOUNCEMENT. And the rest to the spring show April 23rd.


